Only in recent years have I become a fan of dried flowers. I always used to turn up my nose at them because they reminded me of tacky, dated flower books from the late ‘80s.
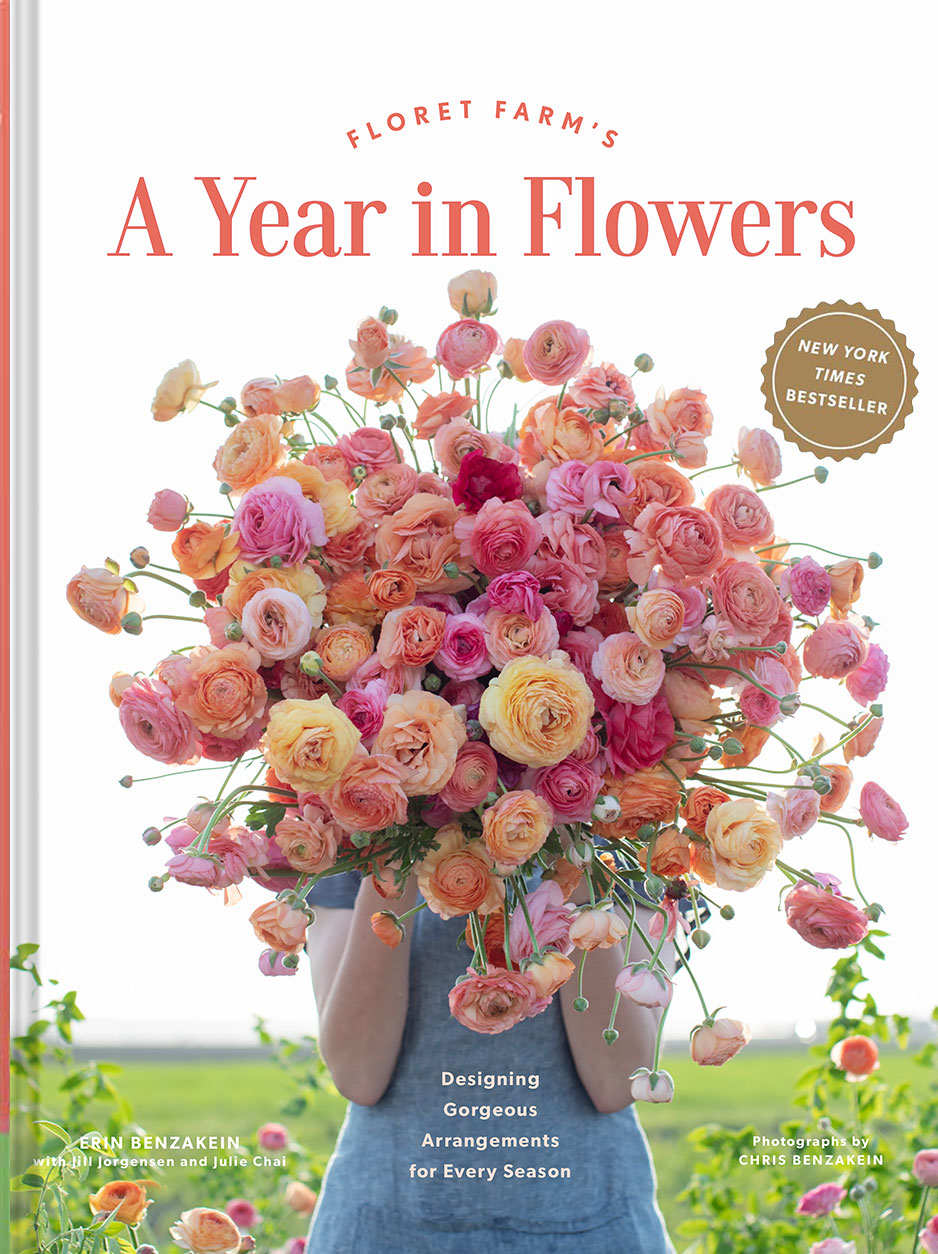
Now I can’t believe it took me so long to discover their benefits. Drying flowers means you can preserve the abundance from your garden to be enjoyed later, when nothing is blooming. Back when we were finishing the winter chapter of A Year in Flowers, I realized how useful and versatile dried flowers really are.

There are so many ways to use dried flowers, seedpods, and grasses: in late-autumn arrangements, adorning fresh holiday wreaths, or even mixed with fresh blooms. I thought it would be helpful to share some of the varieties that are the easiest to grow and most popular for drying.
Start seed indoors in trays 6 weeks before your last frost. Seed requires light to germinate, so do not cover. Bottom-water until seedlings emerge, and transplant out after all danger of frost has passed. For drying, you can cut them at the desired stage of openness and they’ll hold in that stage.


Start seeds indoors 6 weeks before last frost; transplant out when all danger of frost has passed. Harvest when all flowers on a stem have appeared. If picked too soon, stems will wilt. Fresh flowers have a 7- to 10-day vase life.

Direct-seed in late fall or early spring or start seed indoors in trays 6 to 8 weeks before your last frost, and plant out while weather is still cool. Plants do best when sown directly in the garden. Larkspur can be planted in fall in even the coldest corners of the world. Speed up germination by chilling seed in a refrigerator or freezer for a week or two before sowing.
To dry, let all but the top 3 to 4 blooms open, then pick and hang upside down in a warm, dark place out of bright light for 2 weeks.

Flower heads get bigger over time, so pick when they are the size you want, but before they go to seed. Celosias often last 2 weeks as fresh flowers. To dry them, hang freshly cut stems upside down in a warm, dark place for 2 to 3 weeks or until they are firm to the touch.

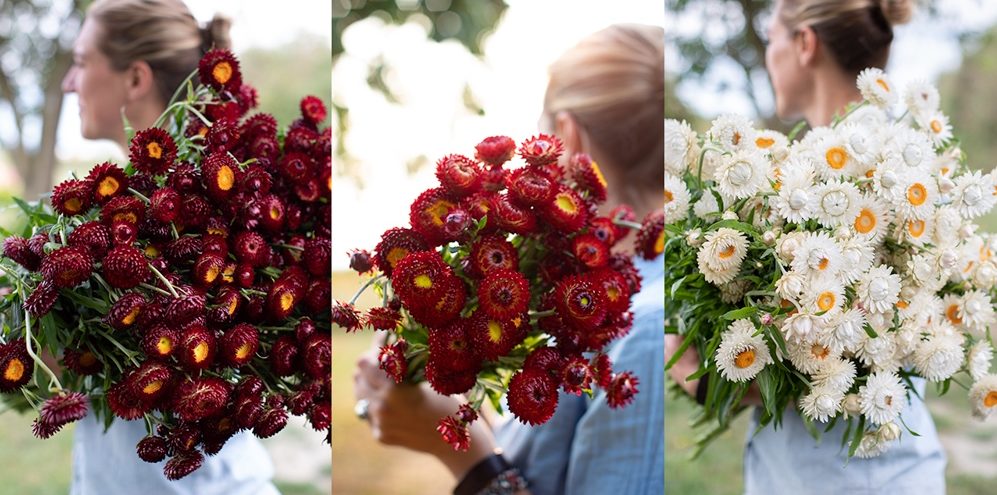
Start seed indoors in trays 4 to 6 weeks before last frost; transplant out after all danger of frost has passed. Freshly harvested flowers can last up to 2 weeks in the vase, and dried flowers look nearly the same as fresh ones.

Eucalyptus can be grown as an annual from seed if started early. Sow seed on the surface of the soil and do not cover. Seeds are very slow to germinate and take 45 days to sprout, so be patient. Harvest once foliage is mature and tips are no longer droopy.
Cut fresh, eucalyptus is a long-lasting foliage—often 2 weeks in the vase. As a dried foliage, it’s a favorite in autumn wreaths.
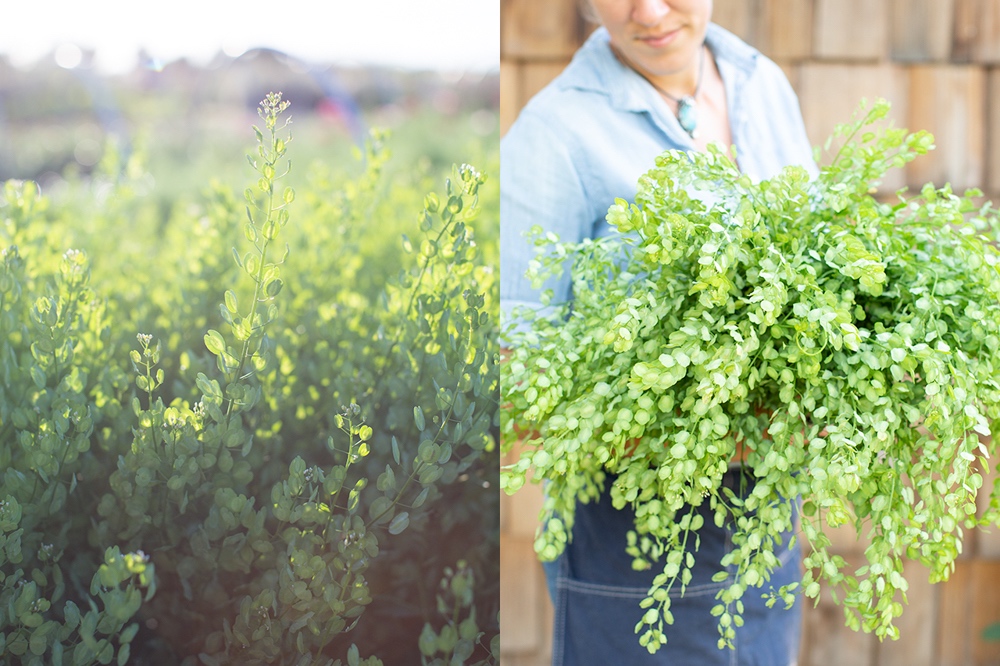
Cress is extremely quick to germinate and produces a bumper crop in just 2 months. We direct-sow it every 2 to 3 weeks from our last spring frost through early summer for a steady supply.
Harvest when the seedpods are fully formed and the top blooms have faded for a 7- to 10-day vase life. If you succession-sow, you’ll have plenty to dry for autumn bouquets and wreaths. Stems dry easily; just hang them upside down in a warm, dark place.

Harvest at any point once seed heads emerge. If you cut it fresh, expect a vase life of 7 to 10 days; no preservative needed.
To dry, wait until the pollen sheds, then pick and hang upside down in a warm, dark place. Everyone who visits the farm loves this grass! It mixes well with everything and looks fantastic dried.

Breadseed poppies produce large, decorative seedpods that can be dried and used indefinitely. ‘Rattle Poppy’ pods are as large as limes! Breadseed poppies do best when direct-sown, but slugs love them, so keep an eye out.

Direct-sow into the garden after all danger of frost has passed. Shirley poppies can be started indoors; just take care when planting out not to disturb the roots too much.


After the bunches were completely dry, we wrapped them in pieces of kraft paper and stored them in plastic Rubbermaid bins until we were ready to use them.
I gave two huge boxes of dried goodies to my friend Nina, who makes the sweetest little dried wreaths that she sells at craft fairs. I divided the rest among the team, and the ladies had fun crafting with them.

Siri lives on one of the most remote San Juan Islands and travels between her family’s farm and destinations worldwide arranging flowers. She makes the most stunning works of art from dried flowers that she grows and ships nationwide around the holidays.
Some of Siri’s everlasting wreaths are shown here. Aren’t they amazing?


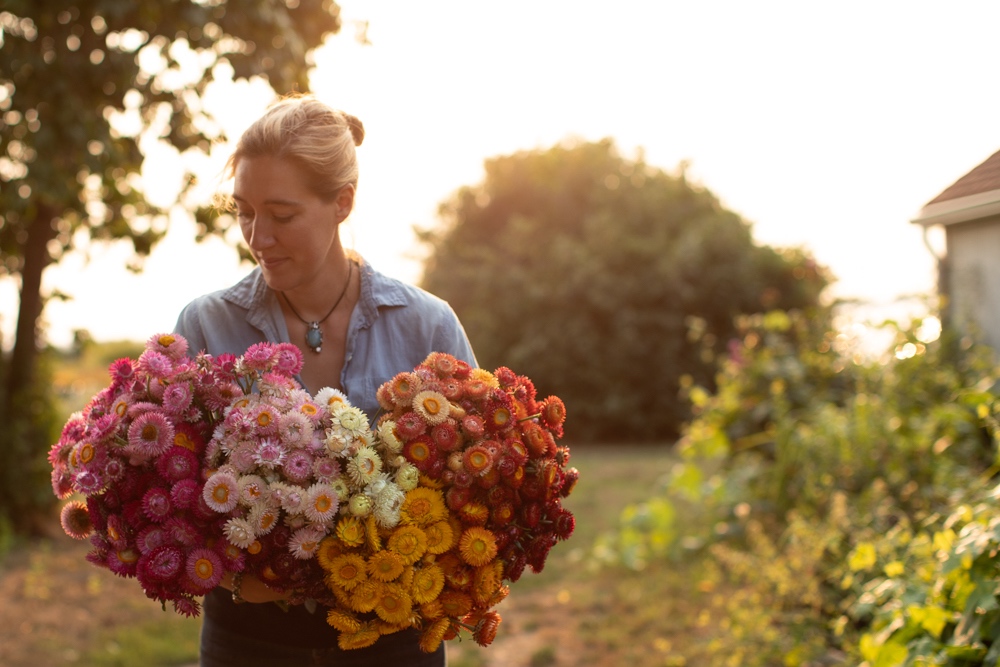
- Flowers for drying should be picked more open than those for fresh cuts, but make sure they’re not too ripe. I suggest picking blooms when they are about three-quarters of the way open. If overly ripe, they will fall apart during the drying process.
- After flowers are harvested, you’ll want to remove all of the foliage and leaves on the stem because they will turn brown and crispy when they dry.
- Be sure to hang your bunches upside down while they are drying because the flower heads will be fixed in whatever position they were in when they dried. Hanging them upside down will ensure straight, usable stems.
- Handle dried flowers with care because they are quite fragile and can break easily. If you aren’t going to use them right away, you can wrap them in tissue or kraft paper and store them until needed.
Even if you only save a few bunches of flowers for drying, I’d highly recommend that you give it a try. You’ll be glad to have them on hand during the lean winter months.

Please note: If your comment doesn’t show up right away, sit tight; we have a spam filter that requires us to approve comments before they are published.

Dallas on
Beautiful post. I’d love to see the Latin for the plants you suggest for easy reference. Also, do you have a reference book for ornamental grasses and flowers for drying? Much Gratitude