The first year I grew flowers, my cutting garden was a delightful jungle of flowers and waist-high weeds. While I loved the process of selecting varieties, planting, tending, and picking, I hadn’t anticipated just how much energy would be used battling weeds to ensure a healthy and abundant harvest.
The following spring, determined to have a more successful experience, I borrowed $1,000 from my mom and ordered enough landscape fabric to cover my barely half-acre plot.
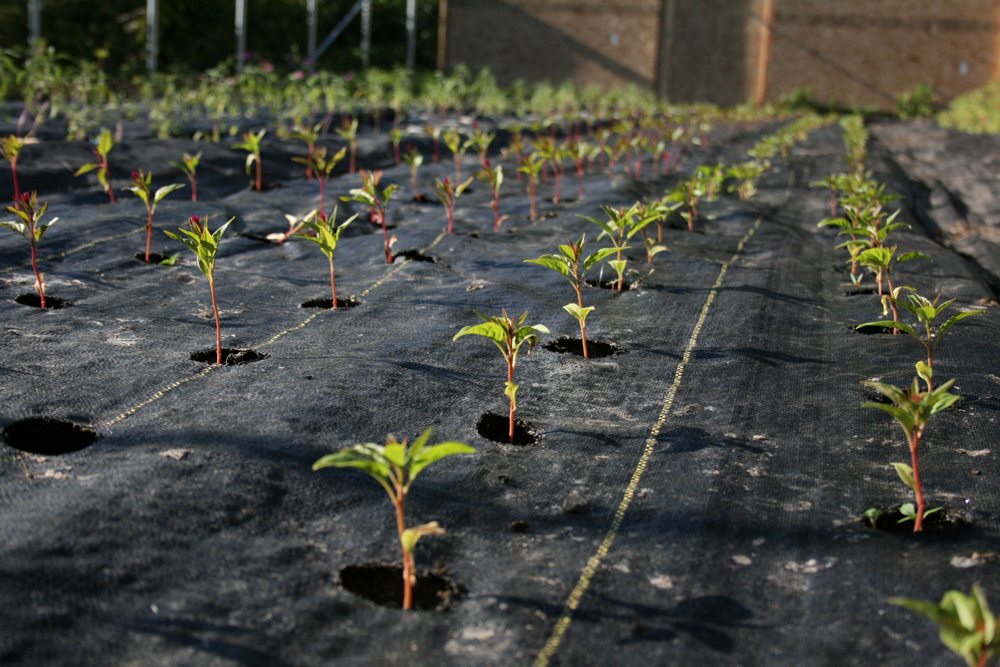
 It was a huge investment, but it was the only way I could see being able to manage the weeds, wrangle our two small children, and grow my budding little business. That spring, Chris burned close to 15,000 holes in landscape fabric, and I finally had a thriving and relatively weed-free garden.
A lot has changed since then. Both the kids and the garden grew rapidly, but that initial batch of landscape fabric is still in use and has been added to each season.
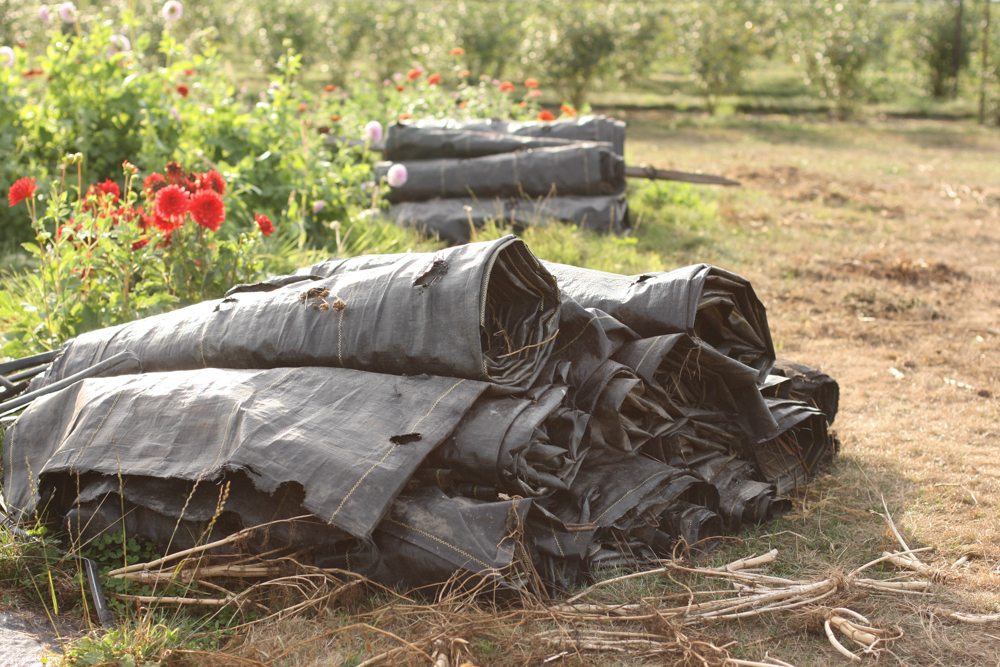
I also inherited a batch of preburned fabric from a retired flower farmer that dates back to the early ’90s and is still in pretty good shape, considering its age. I am hopeful that ours will last for 20-plus years too.
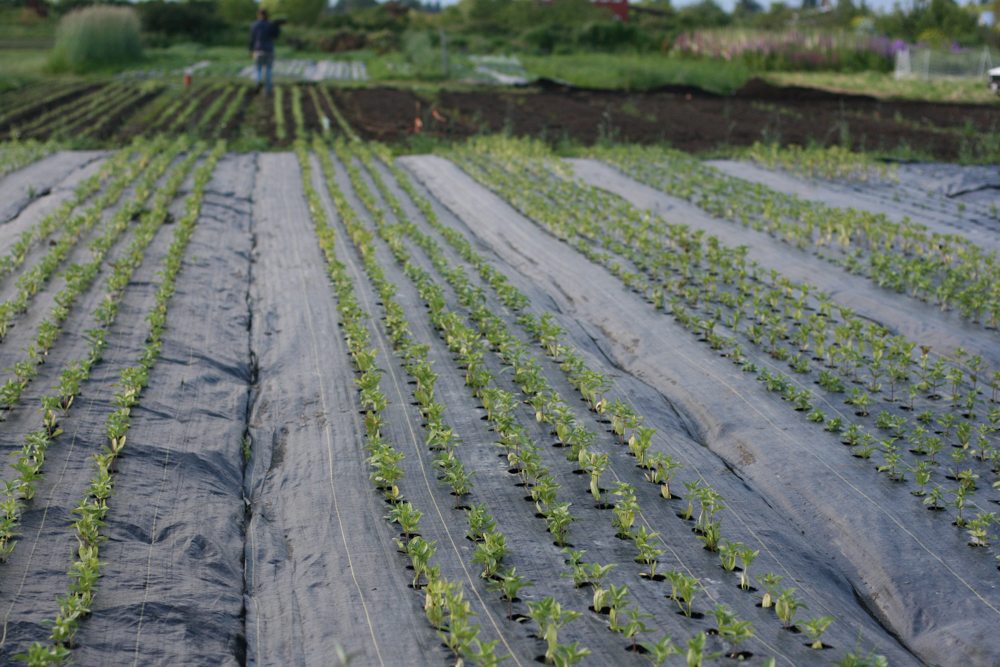
We prefer the 6-ft-wide by 300-ft-long (1.8-m-wide by 91-m-long) rolls, which allow 4 ft (1.2 m) for the growing bed and, if overlapped with another swath of fabric, provide a weed-free path between beds that’s just wide enough for planting, weeding, and harvesting.
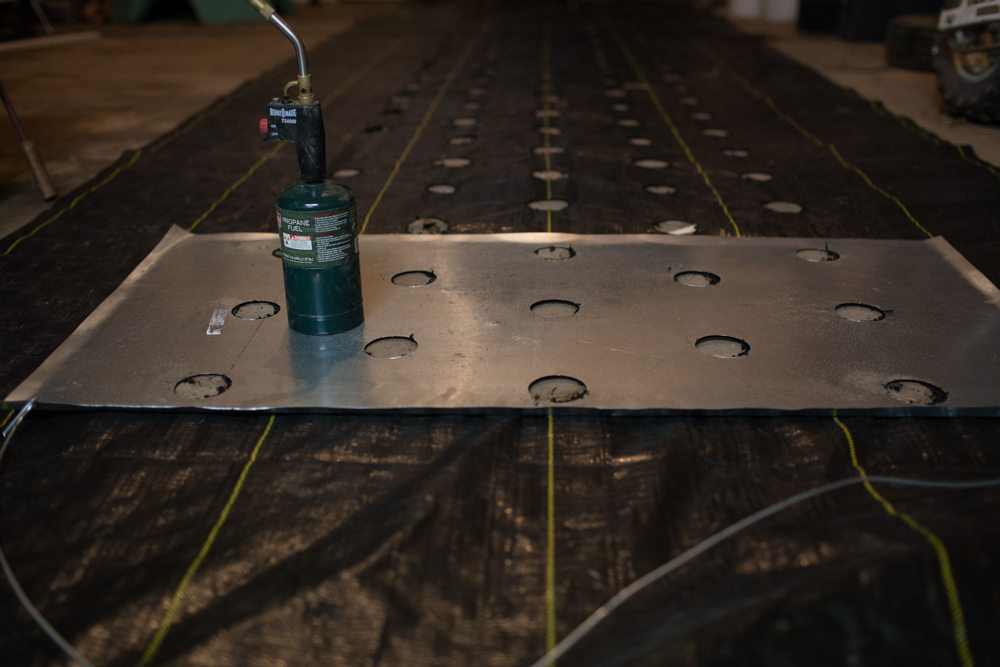
For perfect spacing and increased efficiency, you will need to use some type of template. In the early years I made them out of cardboard and lined the holes with tinfoil. They worked pretty well for a short while, but didn’t hold up over the long haul.
I have friends who make templates out of plywood, but I’d recommend staying away from this option since plywood gets really heavy to pull along, especially if you have a lot of fabric to burn.
The best option is to use a template made of metal. You can make your own with supplies from the hardware store, including a 2-in (5-cm) hole drill and sheet metal. It’s a bit of a project, but metal is the lightest and longest-lasting option.

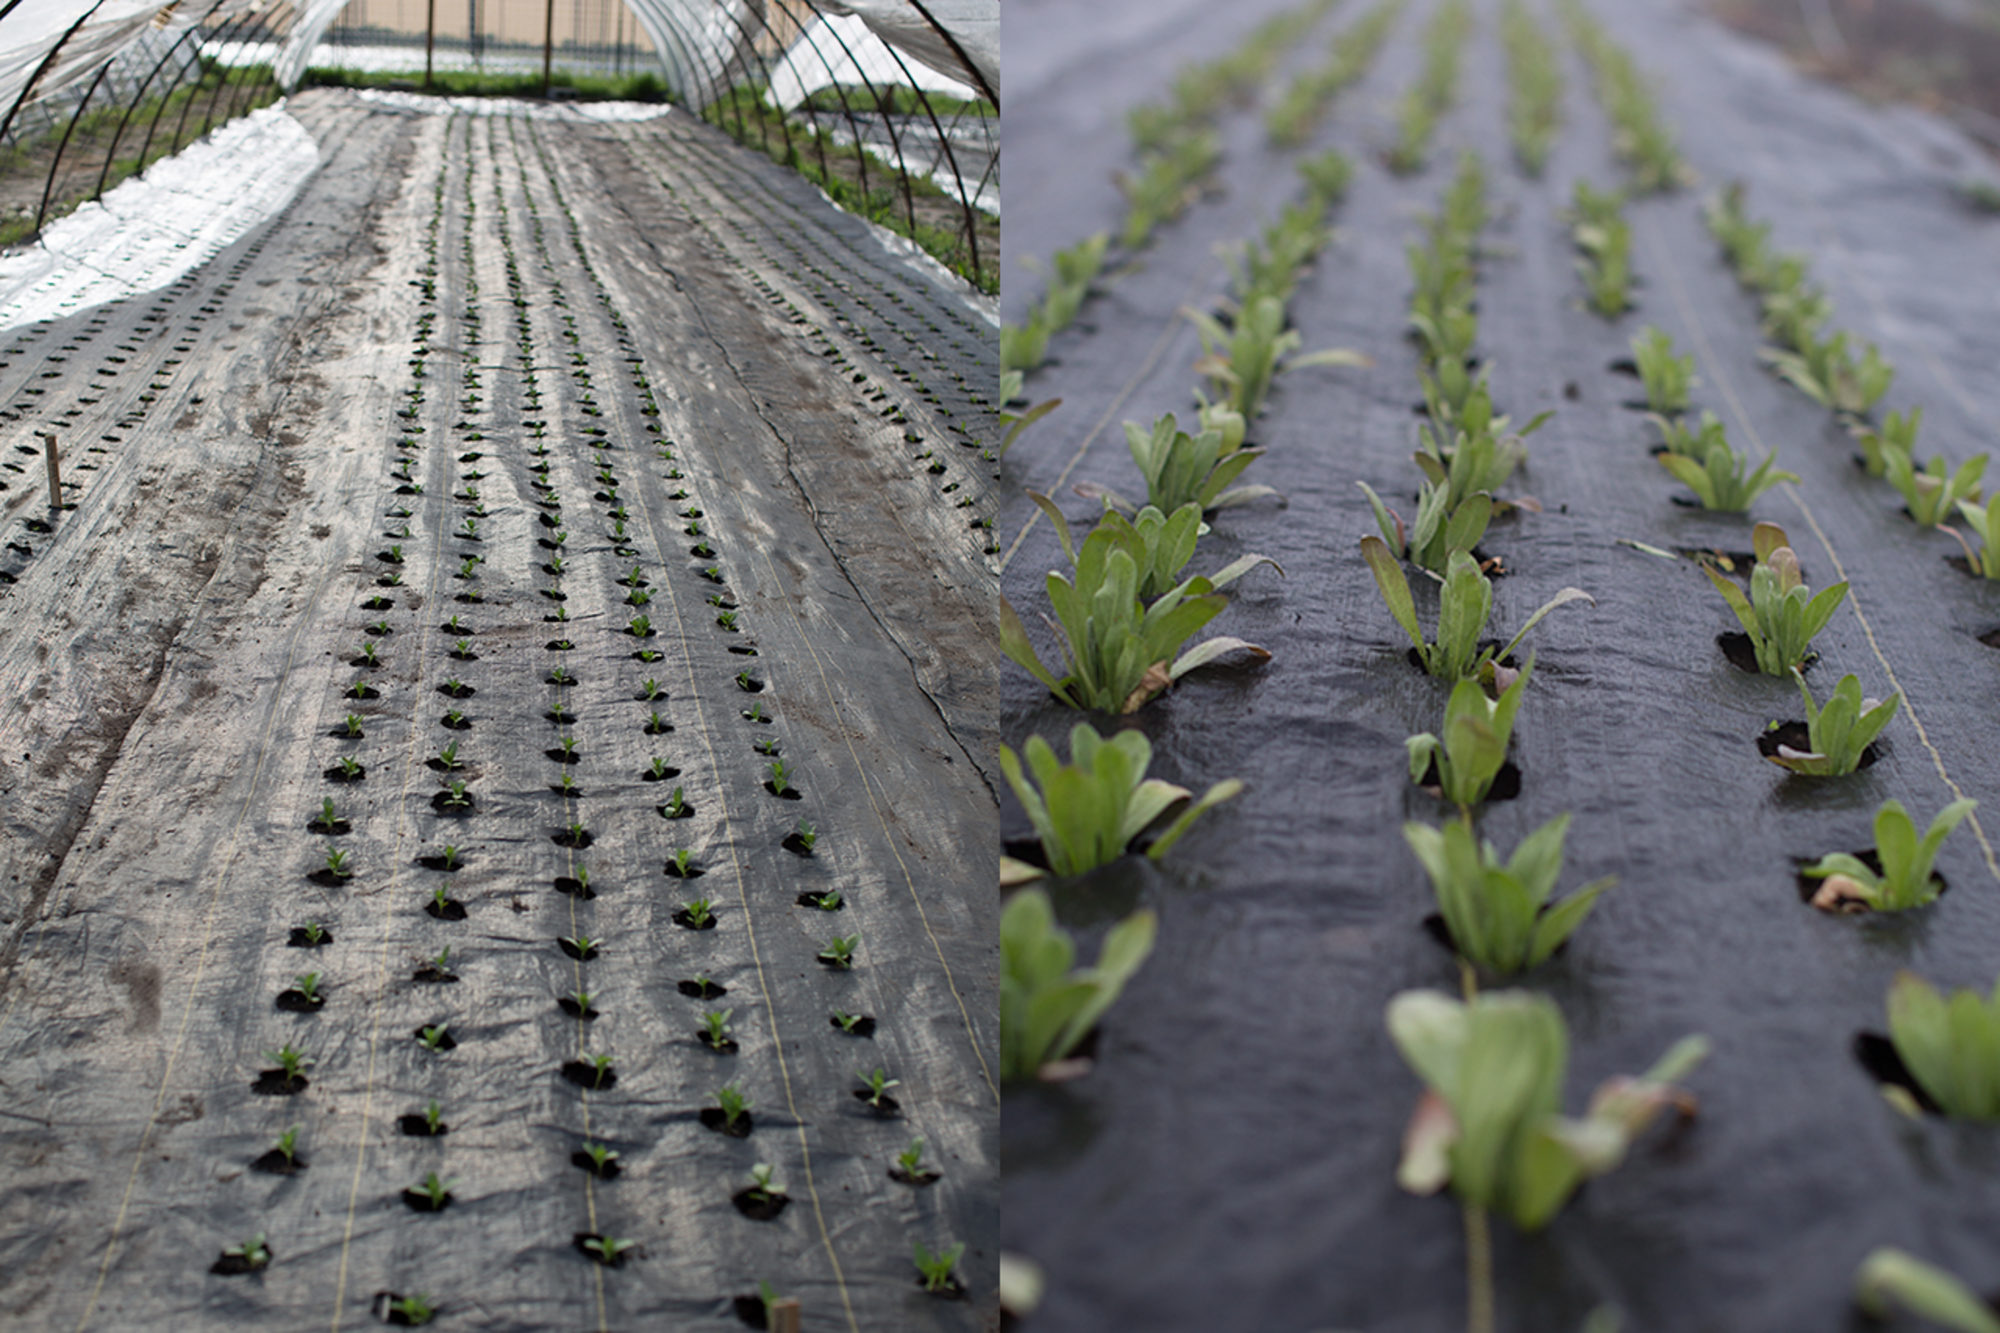
6- by 6-in (15-cm) spacing = 7 rows per bed. This tight spacing is great for single-stemmed crops like ‘Bombay’ celosia, flowering kale, and lisianthus.
9- by 9-in (23-cm) spacing = 5 rows per bed. This is by far our most popular spacing, making up about 80 percent of our field, and is perfect for ageratum, basil, bupleurum, dianthus, frosted explosion grass, honeywort, snapdragons, and zinnias.
12- by 12-in (30-cm) spacing = 4 rows per bed. This spacing is perfect for bulky varieties like amaranth, bells of Ireland, celosia, lavatera, perilla, and scented geranium.
18- by 18-in (46-cm) spacing = 3 rows per bed. This spacing works for really large plants like branching sunflowers and eucalyptus.
Vine spacing: 8 in (20 cm) between plants and 12 in (30 cm) between rows = 2 rows per bed, one on each side of the trellis. This spacing is perfect for hyacinth bean, love-in-a-puff, nasturtium, and sweet peas.
Dahlia spacing: 12 in (30 cm) between plants and 18 in (46 cm) between rows = 2 rows per bed. We grow our dahlias intensively because we are harvesting from them regularly and providing plenty of support.
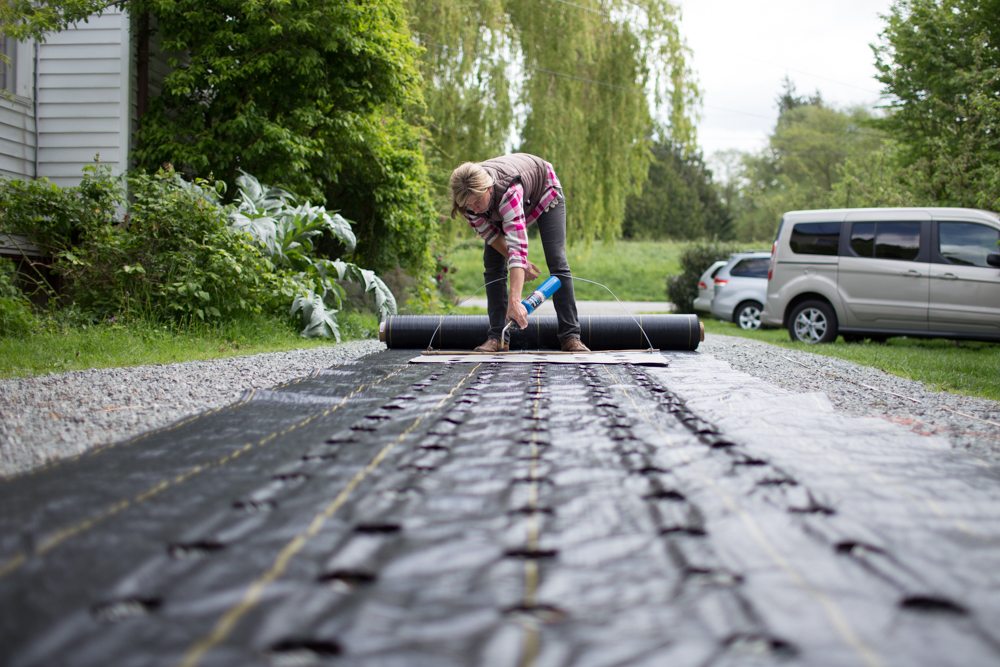
With music playing and someone to help move the template, we are able to burn a 300-ft (91-m) roll of fabric in about an hour and a half.

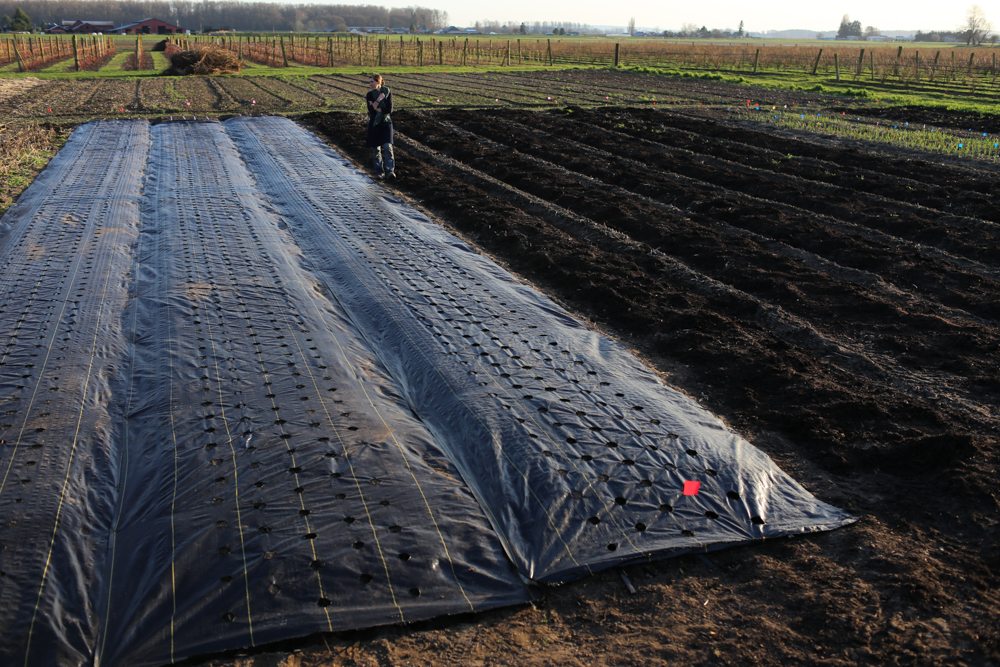
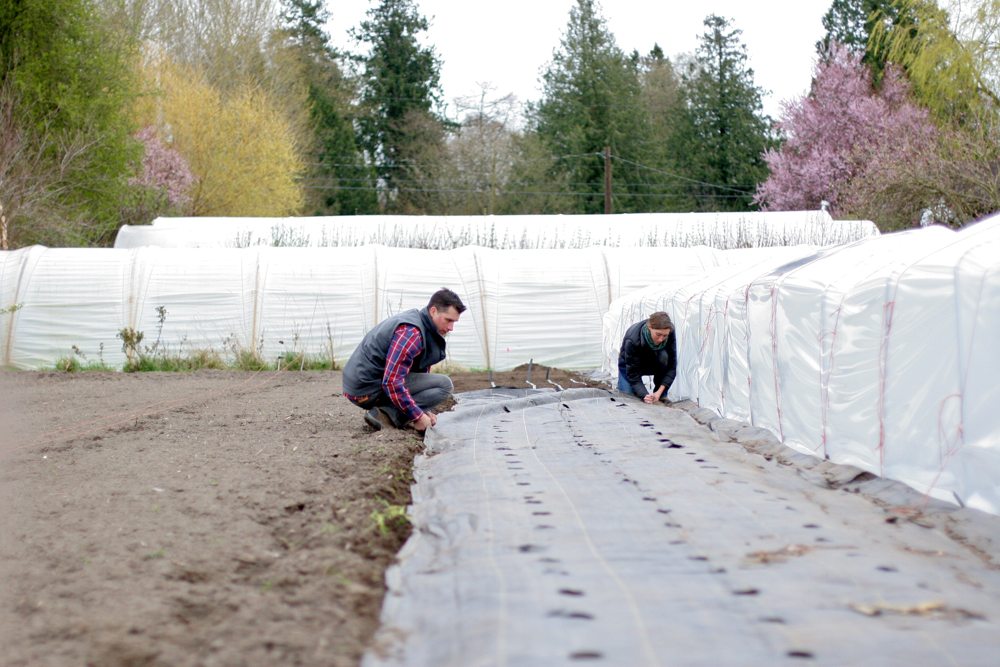
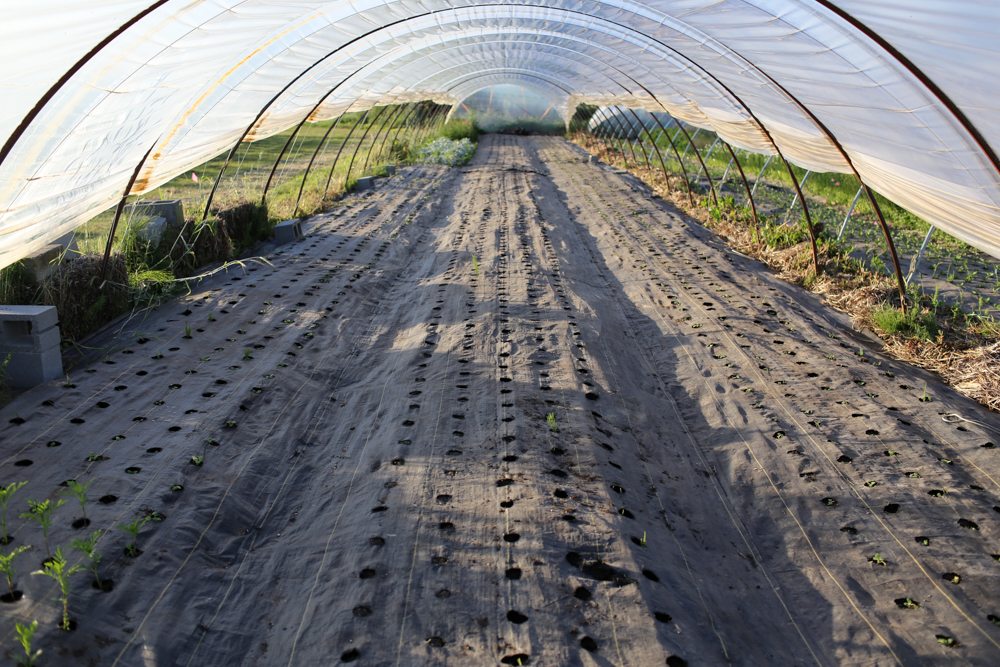
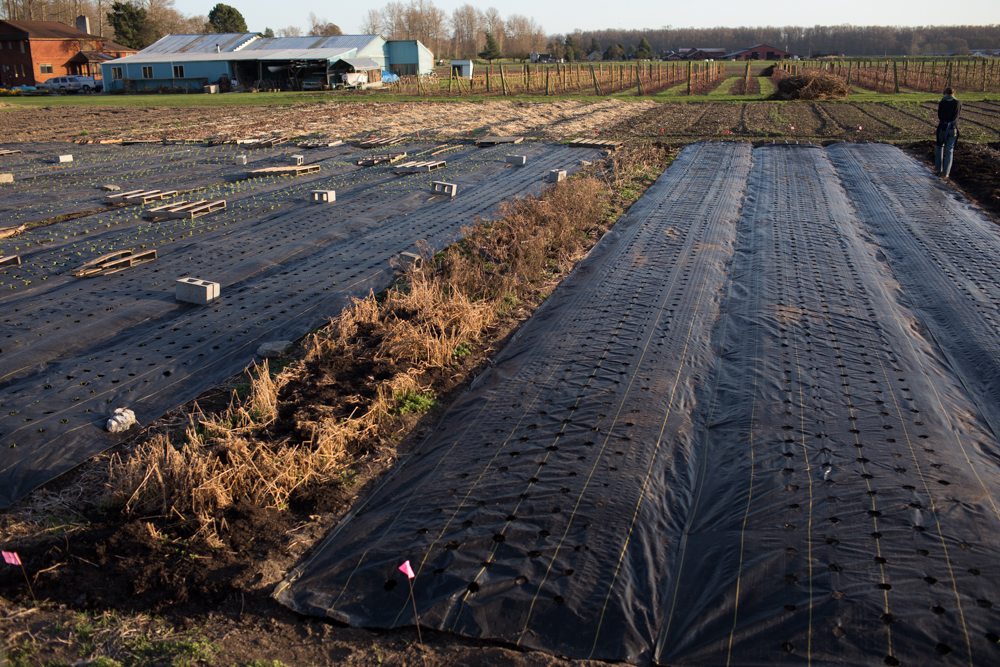
After the soil has been amended and drip irrigation is in place, we roll the fabric out over the beds and irrigation lines and anchor it in place with earth staples.
During the earliest months of spring, we get a lot of intense windstorms (gusts of up to 40 to 60 mph [64 to 97 kph]) that roll through our valley. To keep newly laid fabric in place during really breezy weather, we place cinder blocks along the pathways. Once the weather has calmed, we take them up and store them.
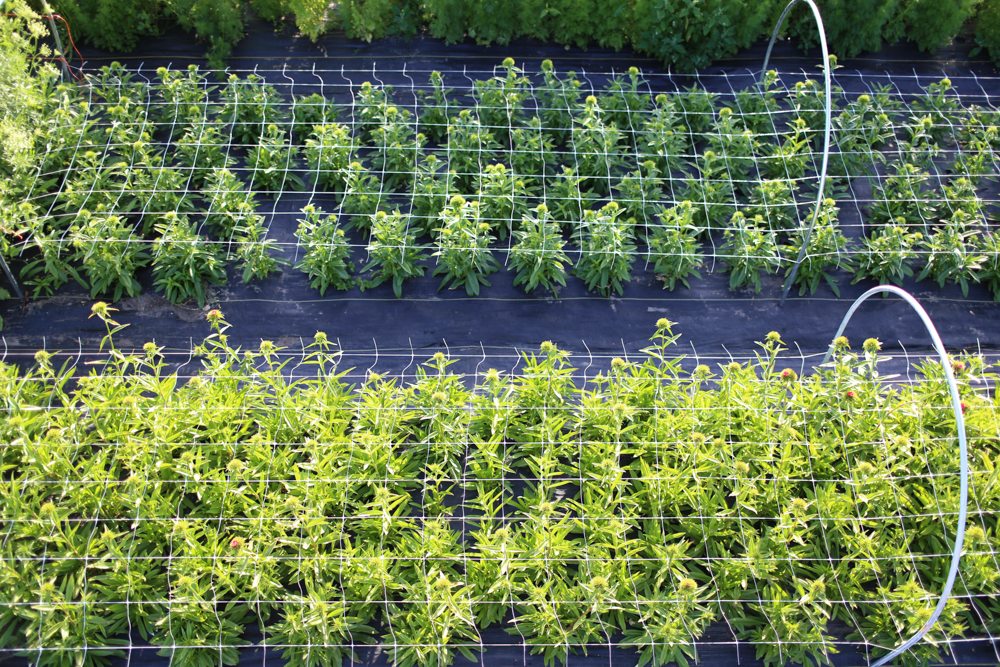
We come through a few times with compost tea and, as the plants grow, add a layer or two of Hortonova flower netting for support.
We then chain the ends of the fabric to our tractor bucket and pull it up. Before we had a tractor, it was all done by hand. After the fabric is removed, we shake off the excess dirt, fold it up, and store it away for the next season.

Please note: If your comment doesn’t show up right away, sit tight; we have a spam filter that requires us to approve comments before they are published.

Jessie on
Specifically what drip irrigation do you use? We overhead water right now so will need to switch to drip when we start with weed barrier fabric