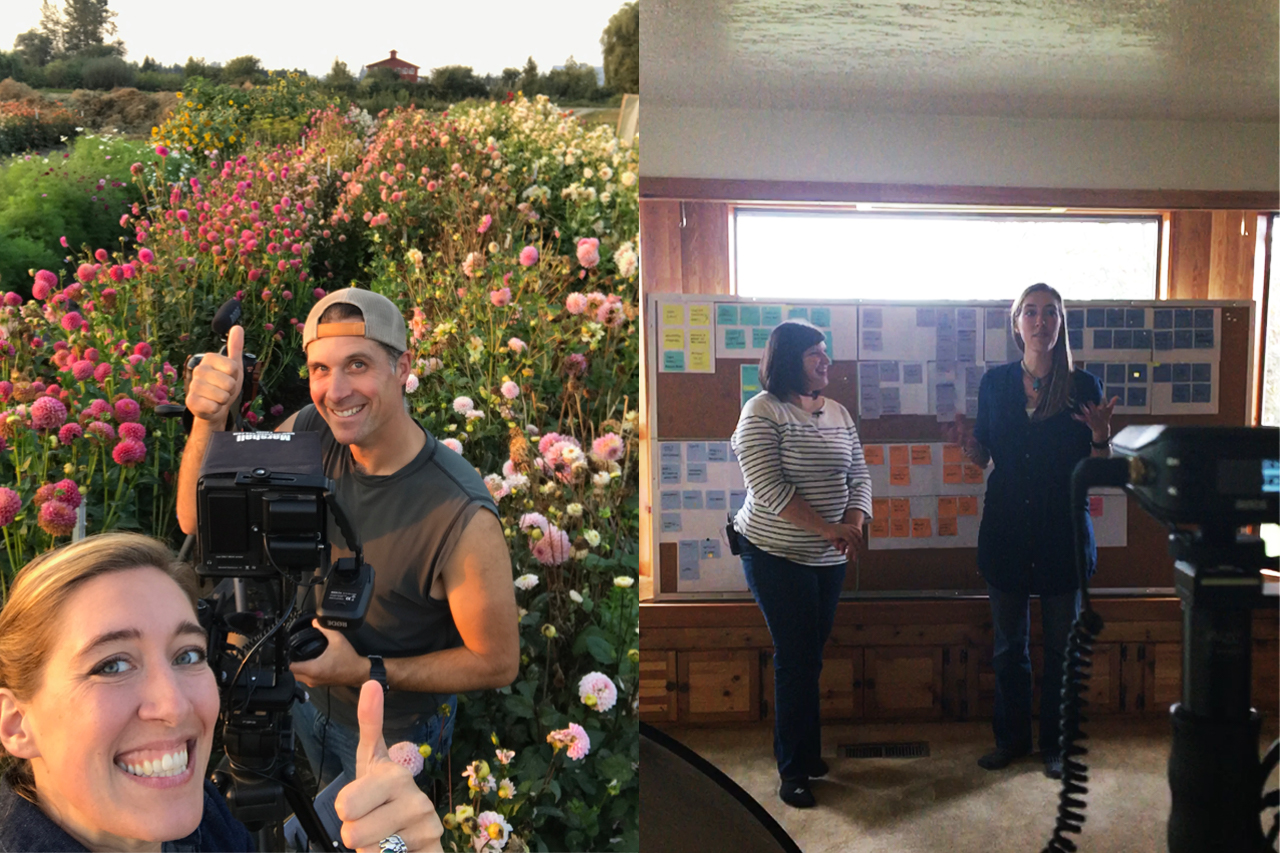
As we’re preparing for our upcoming scholarship program and to welcome our next class into the fold, I wanted to share a little bit more about the process of creating the course and why we designed it the way that we did.
In the first part of this blog series, I shared the story of how our workshops came to be. You can read it here.
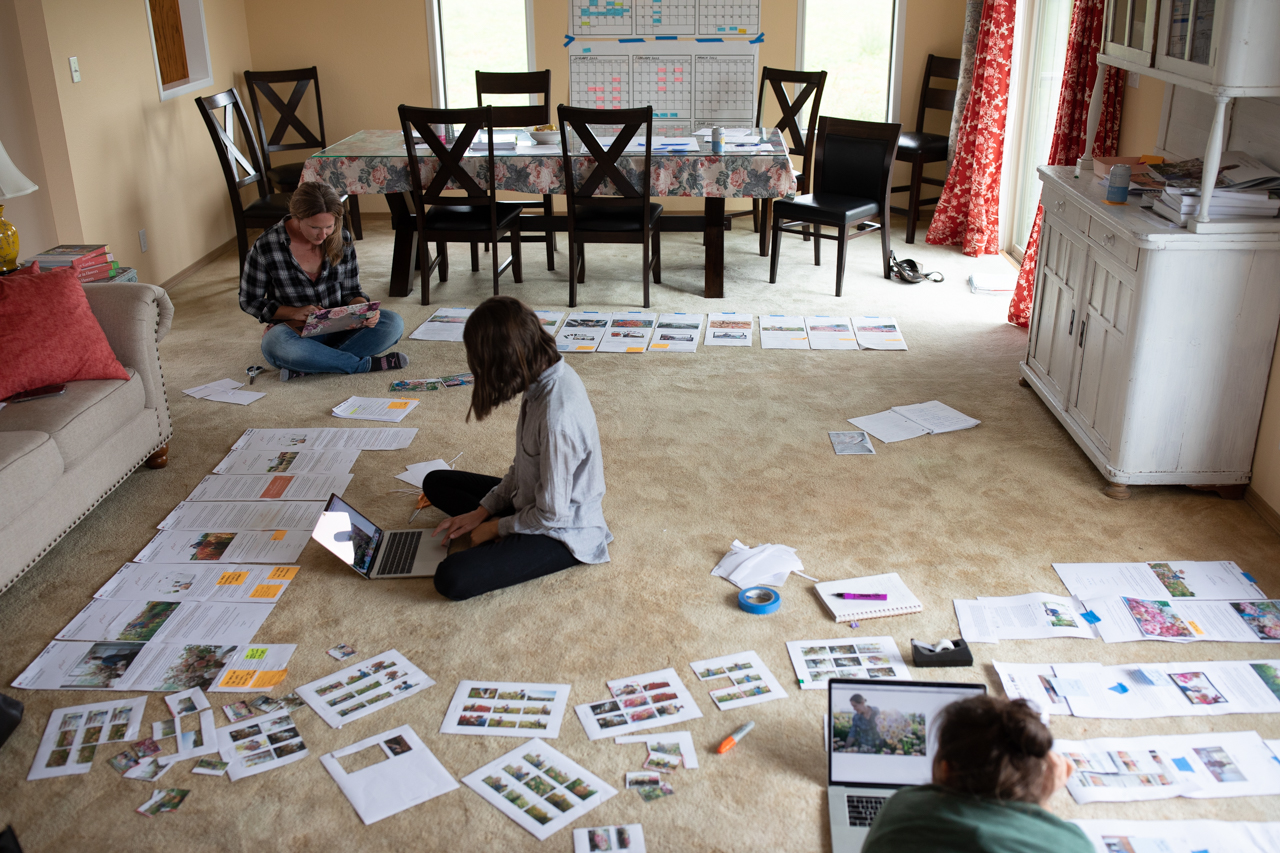
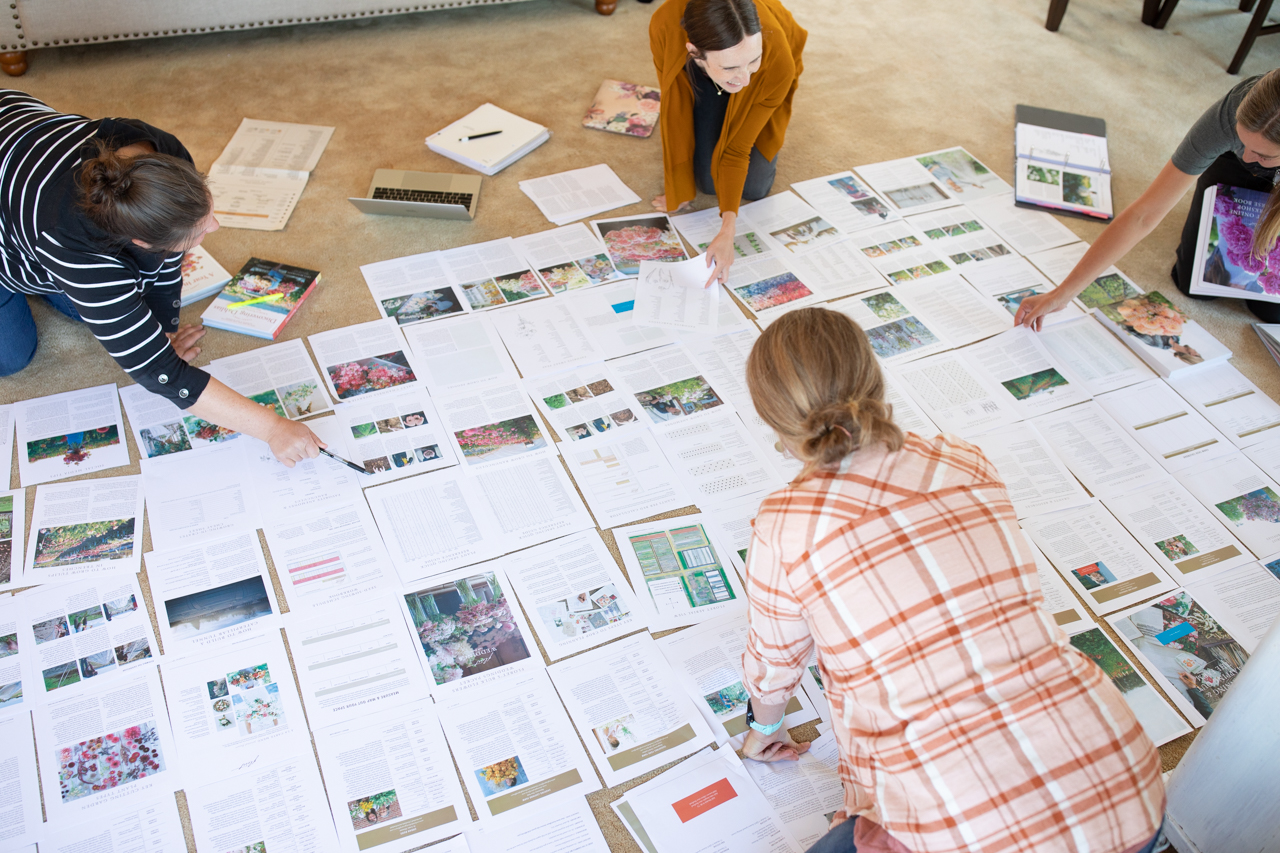
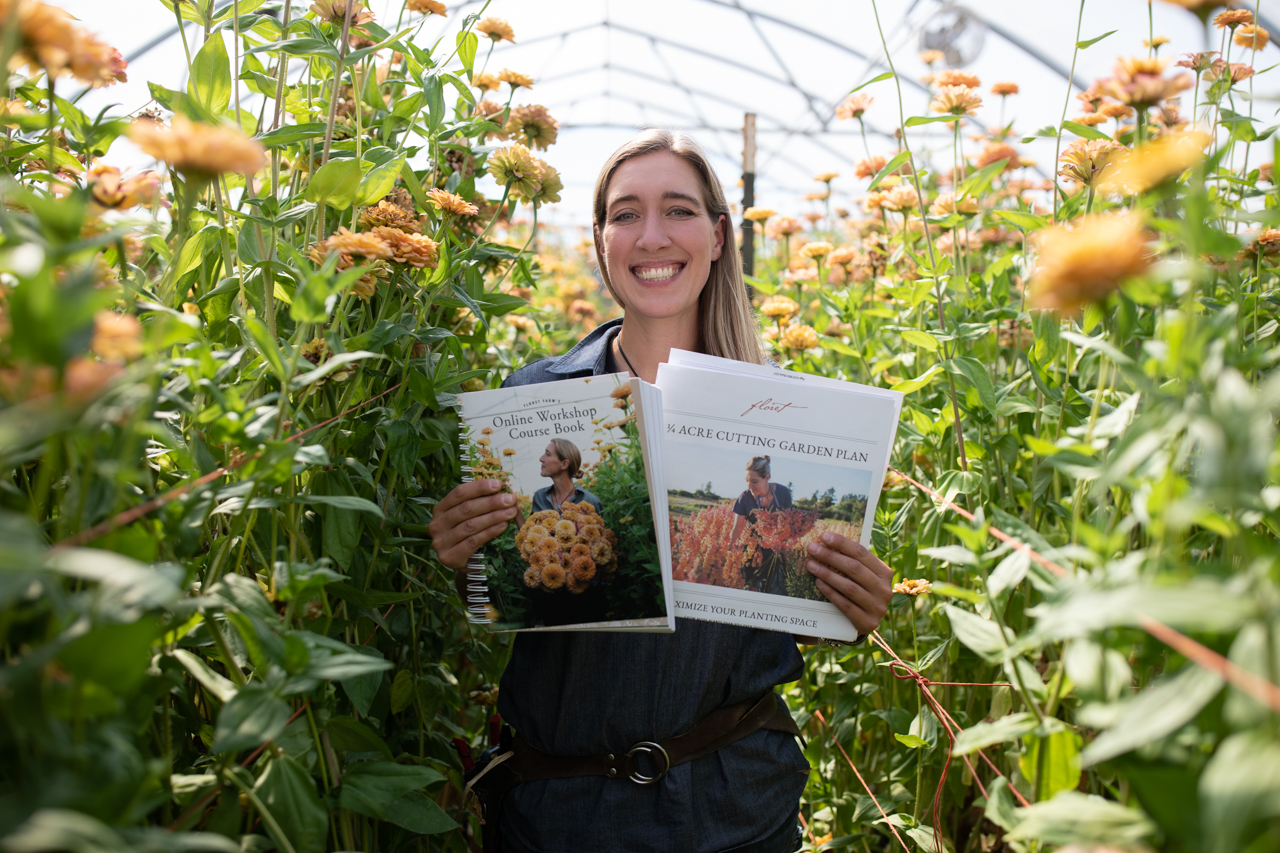
There is something about holding paper in your hands that makes learning and understanding (at least for me) so much easier. I need to be able to see and touch things, and write down my thoughts as I go along.
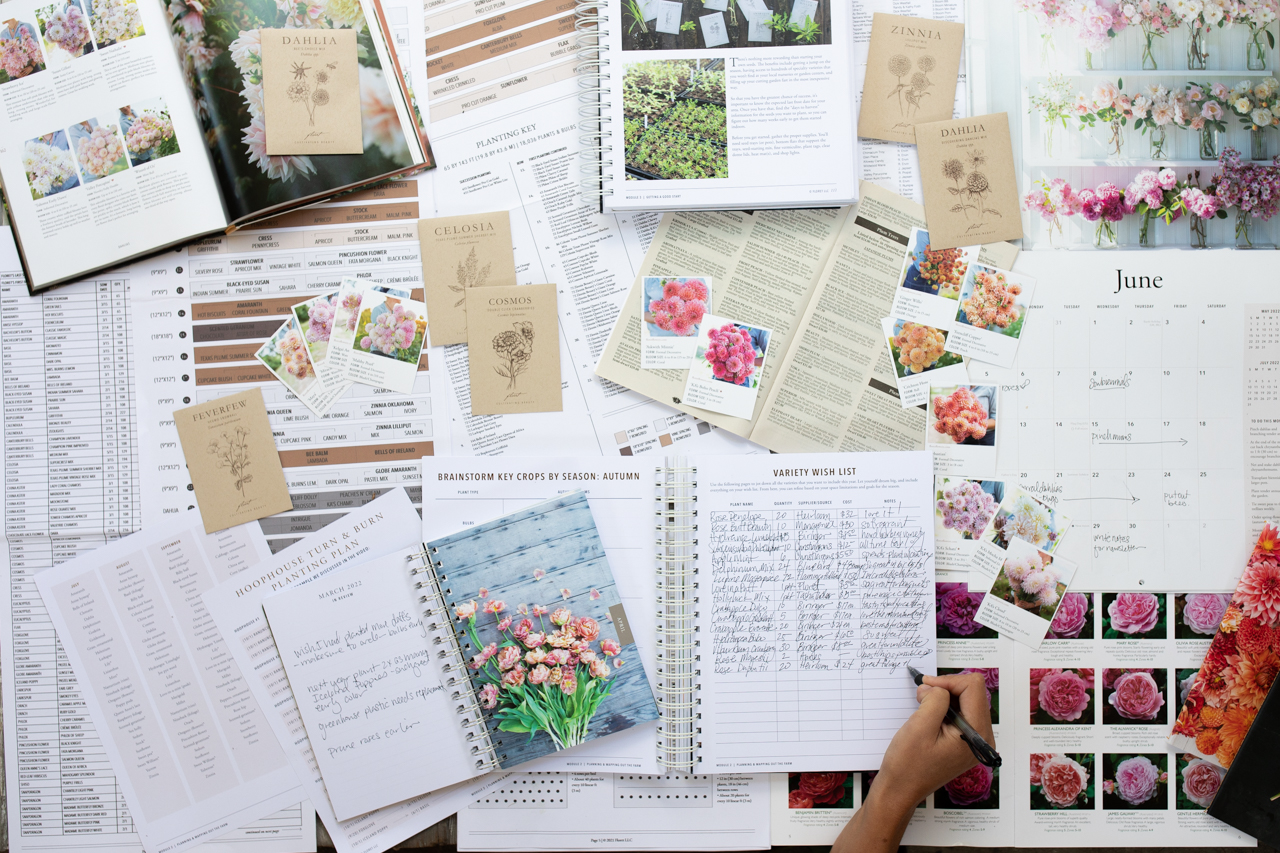
The first year we taught our on-farm workshops the course book was a tiny black and white spiral-bound notebook that was maybe two dozen pages in total. At the time it seemed like such a big deal, but looking back I can’t help but laugh because it’s come so far since those early days.
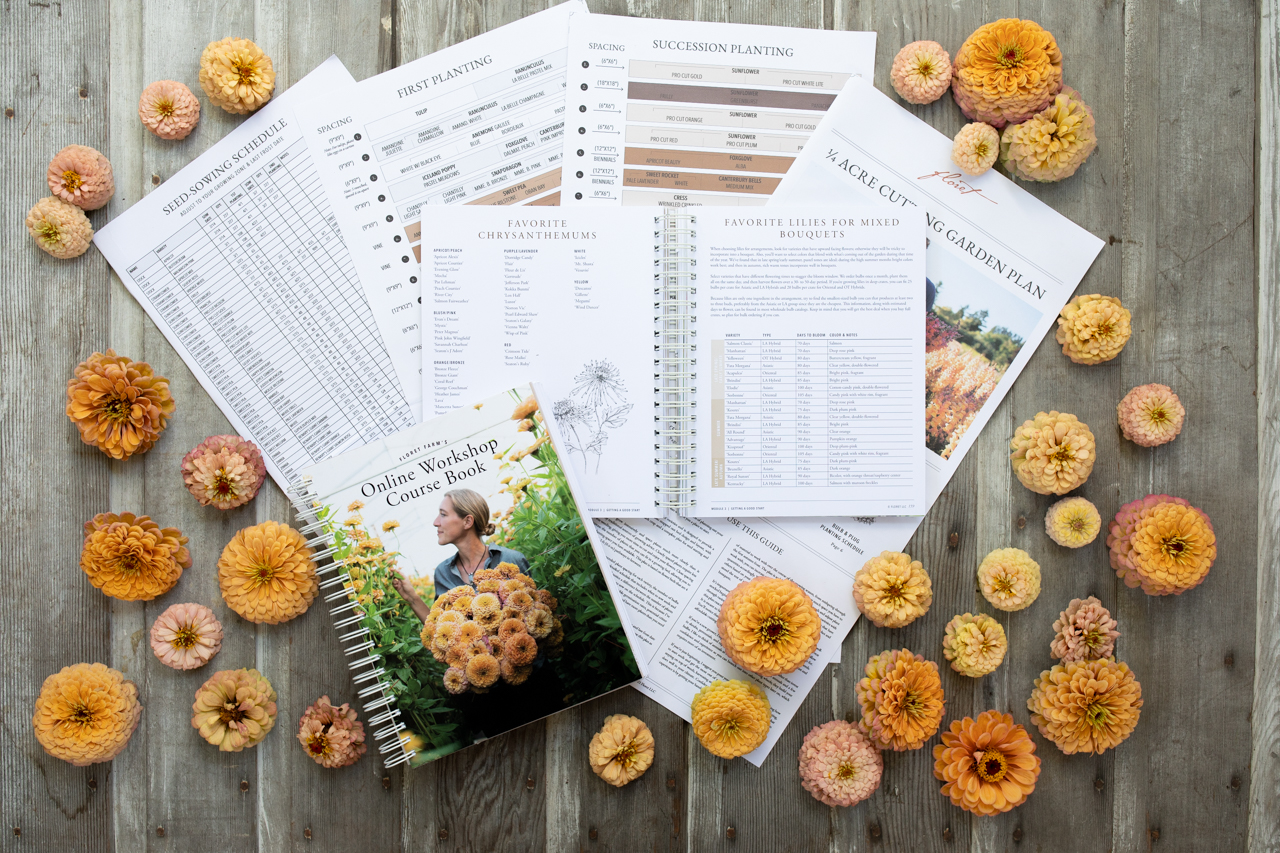
In addition to the course book, we also created a sample cutting garden plan to demonstrate crop planning and succession planting on a small scale. The best part of this sample plan is that you can lay it out on the table and see such important concepts, which are normally very hard to understand, come to life right in front of your eyes.
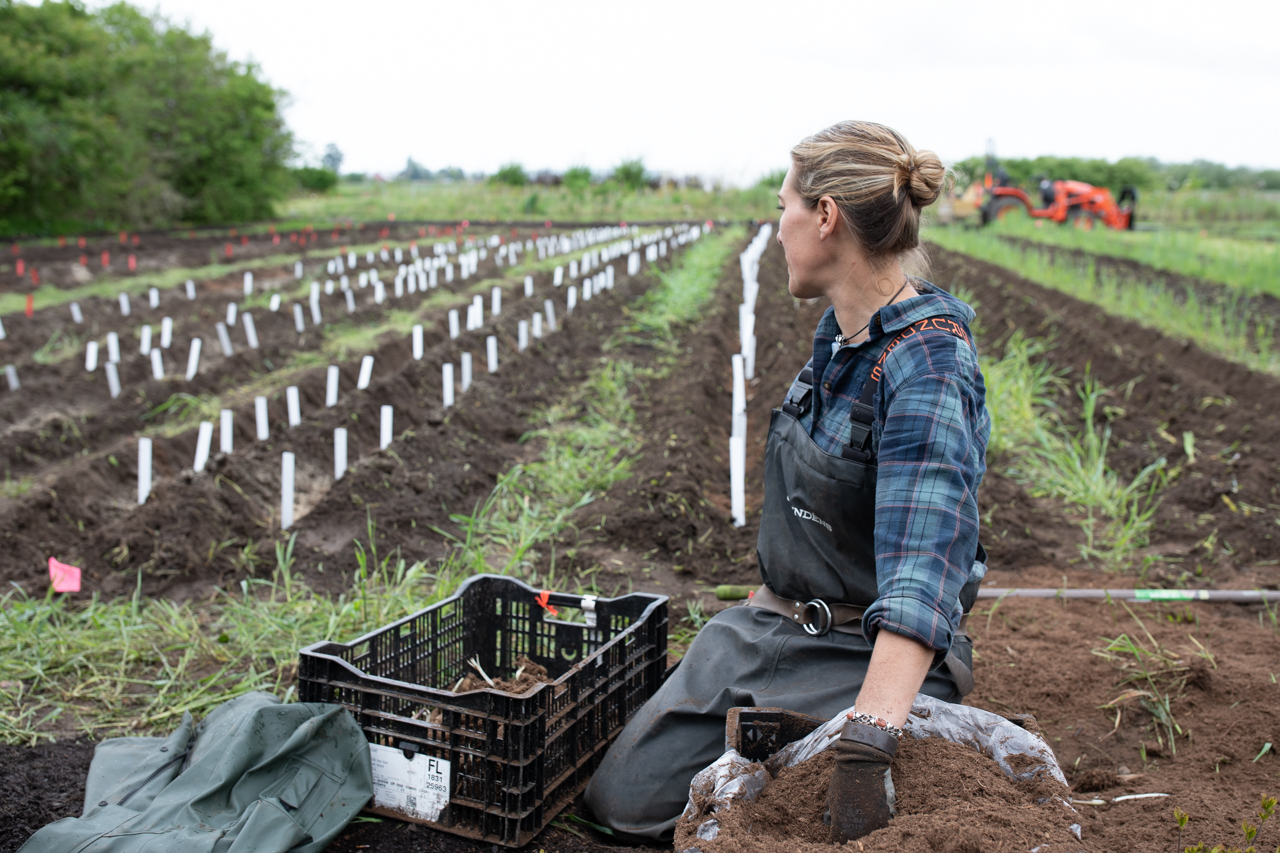
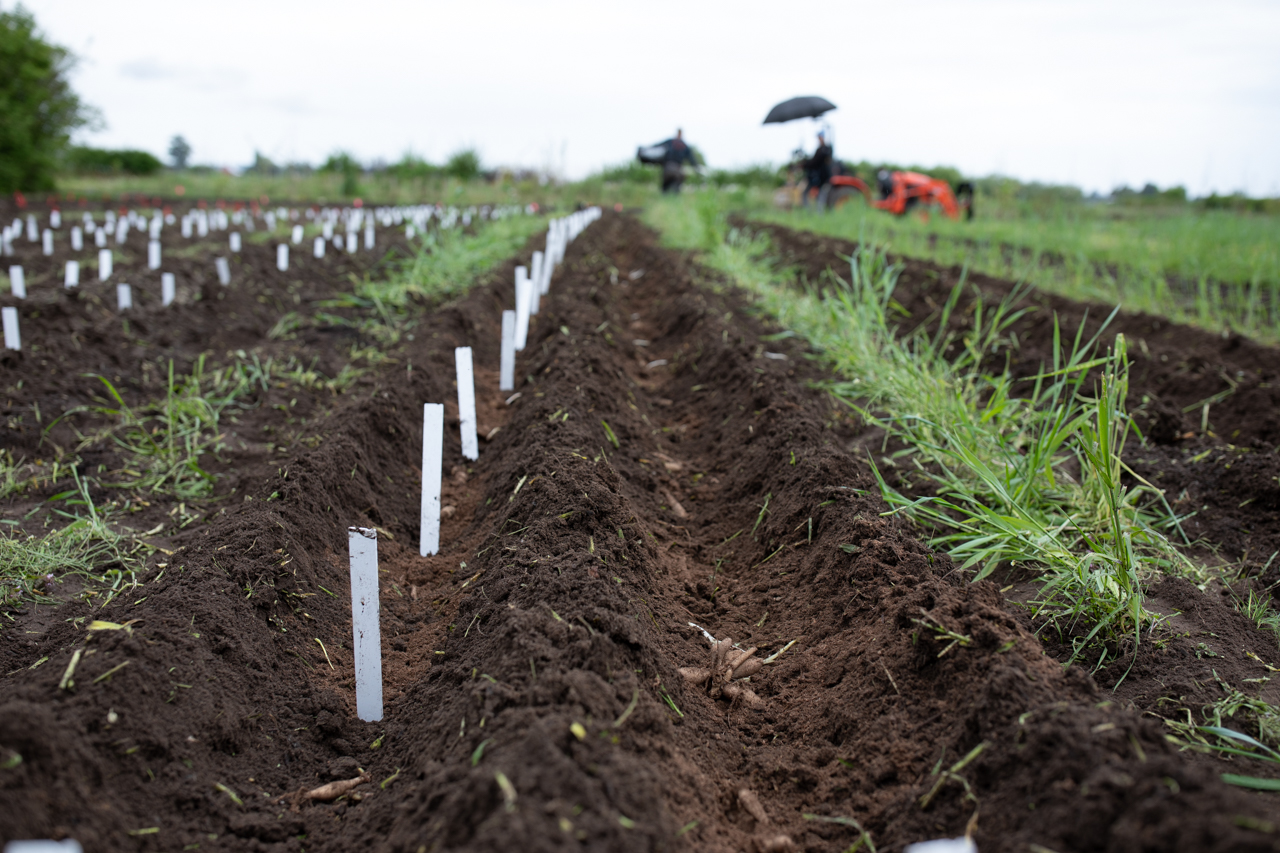
What I love most about moving our workshop to an online format is that it has allowed us to share an entire year on the farm—from planning in the winter months to sowing seeds and planting in the spring to caring for all the flowers and harvesting in the summer, and then finally putting the garden to bed in the autumn.
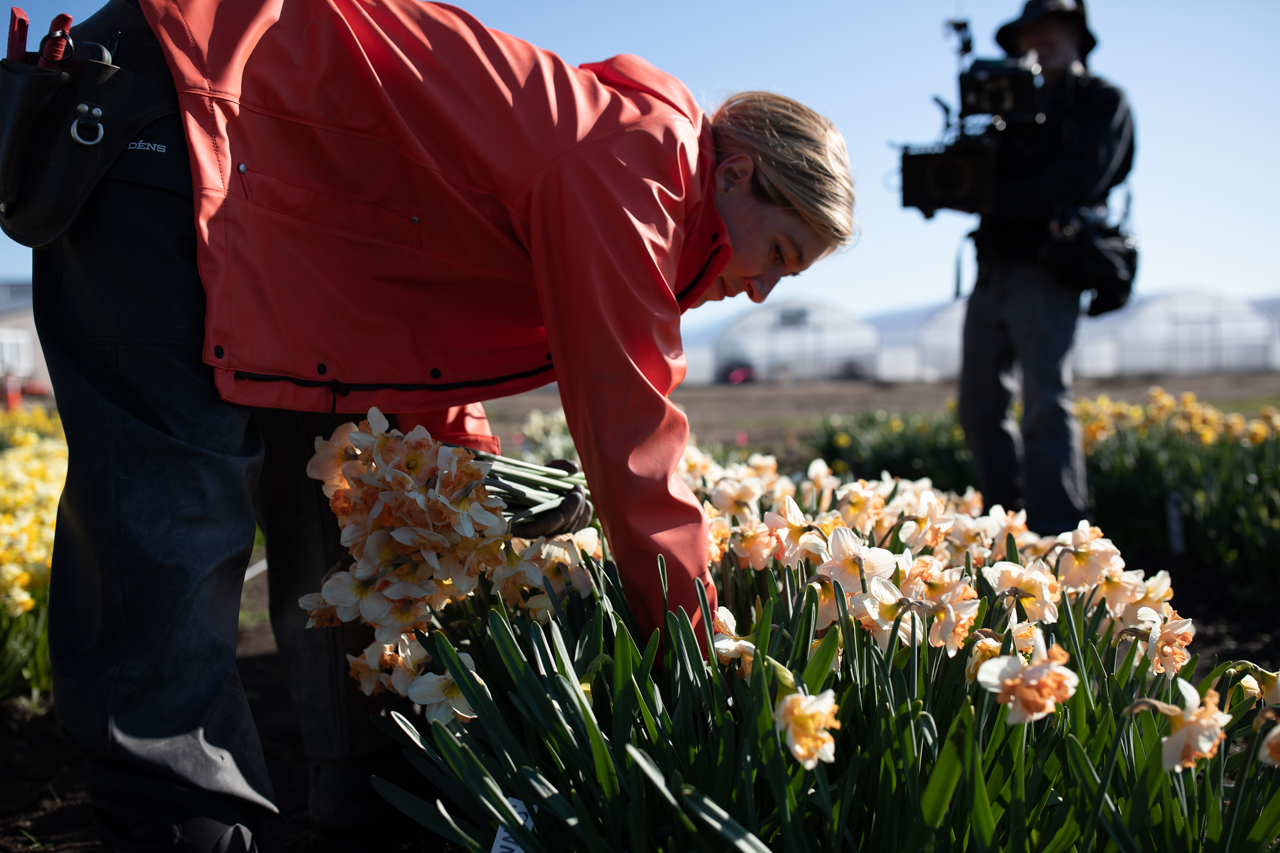
Our intention behind doing it this way was that we wanted to structure it like an apprenticeship with a very hands-on learning approach. I am such a hands-on learner and need to see things demonstrated before I feel comfortable enough to try them myself.
The best part about this format is that we’re able to teach a wide variety of topics to students with varying skill levels and learning styles in a way that is easy to understand and implement in their lives and gardens, no matter how big or small.

The reason we don’t release all of the material at once is that we want students to have enough time and support to work through that week’s module before moving onto the next. It’s so easy to want to jump to the fun stuff like seed starting or bouquet making and skip over the more challenging (but incredibly important) things like goal setting, planning, and marketing.
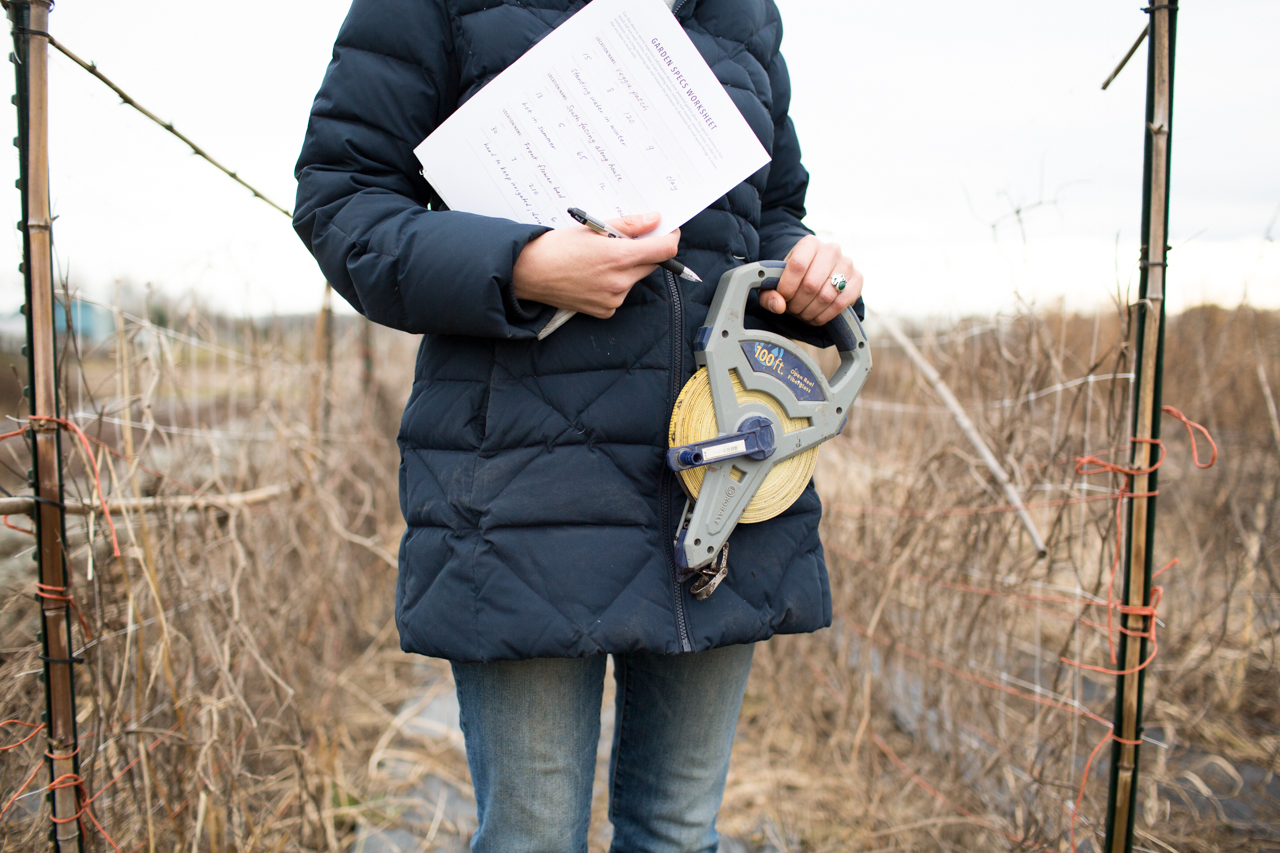
In Module 2, we dive into planning and all that goes into setting yourself up for a successful season. This module is often the most challenging but students always say that it is the most helpful and important one in the course.
Module 3 is all about getting off to a good start and we dig into seed starting, important supplies you’ll need, and then explore a wide range of different cut flower varieties and their specific needs.
In Module 4, we wade into the nitty-gritty side of growing flowers, including soil preparation, how to manage weeds, plant spacing, irrigation, and growing in tunnels and greenhouses.
Module 5 covers marketing, pricing, and the many different options you have when it comes to selling your flowers. Learning how to grow is only half of what it takes if you want a successful flower business—being able to sell them is just as important. I love this module because so many people who have struggled with this topic in the past (myself included) have huge breakthroughs going through this material.
In Module 6, I share all of my tips and tricks for harvesting flowers efficiently and getting them to last as long as possible. It also covers efficient bouquet-making techniques, how to package and deliver flowers, and the most important things that you need to know when selling to florists, wholesalers, and grocery stores.
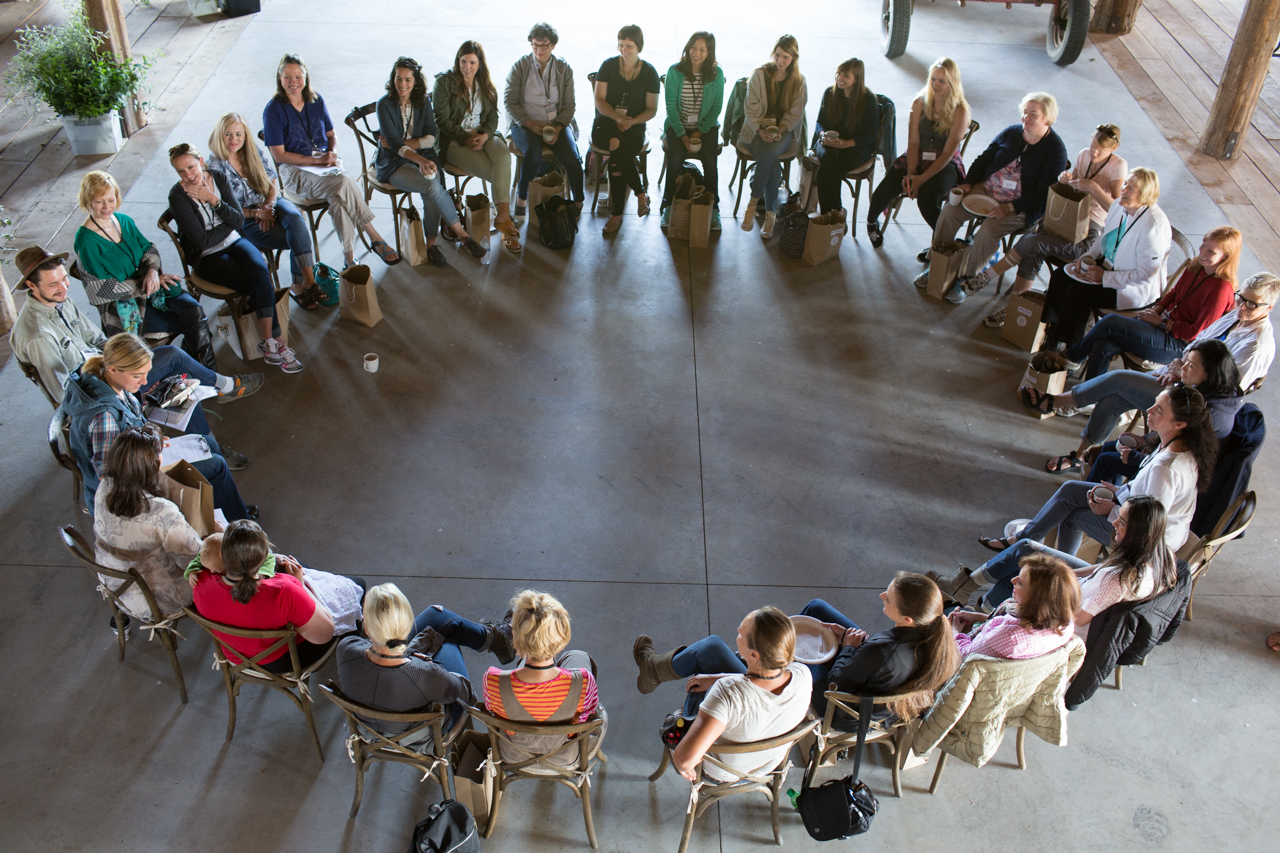
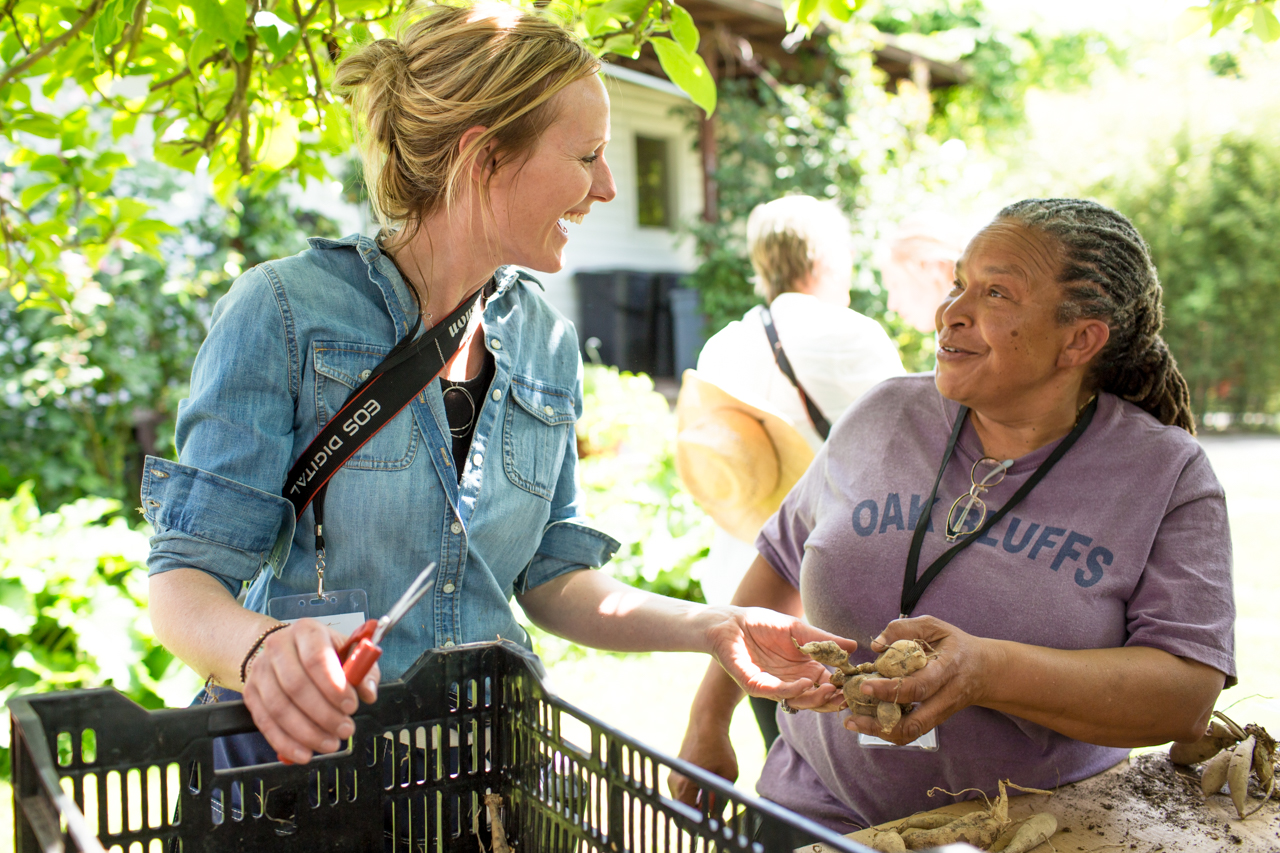
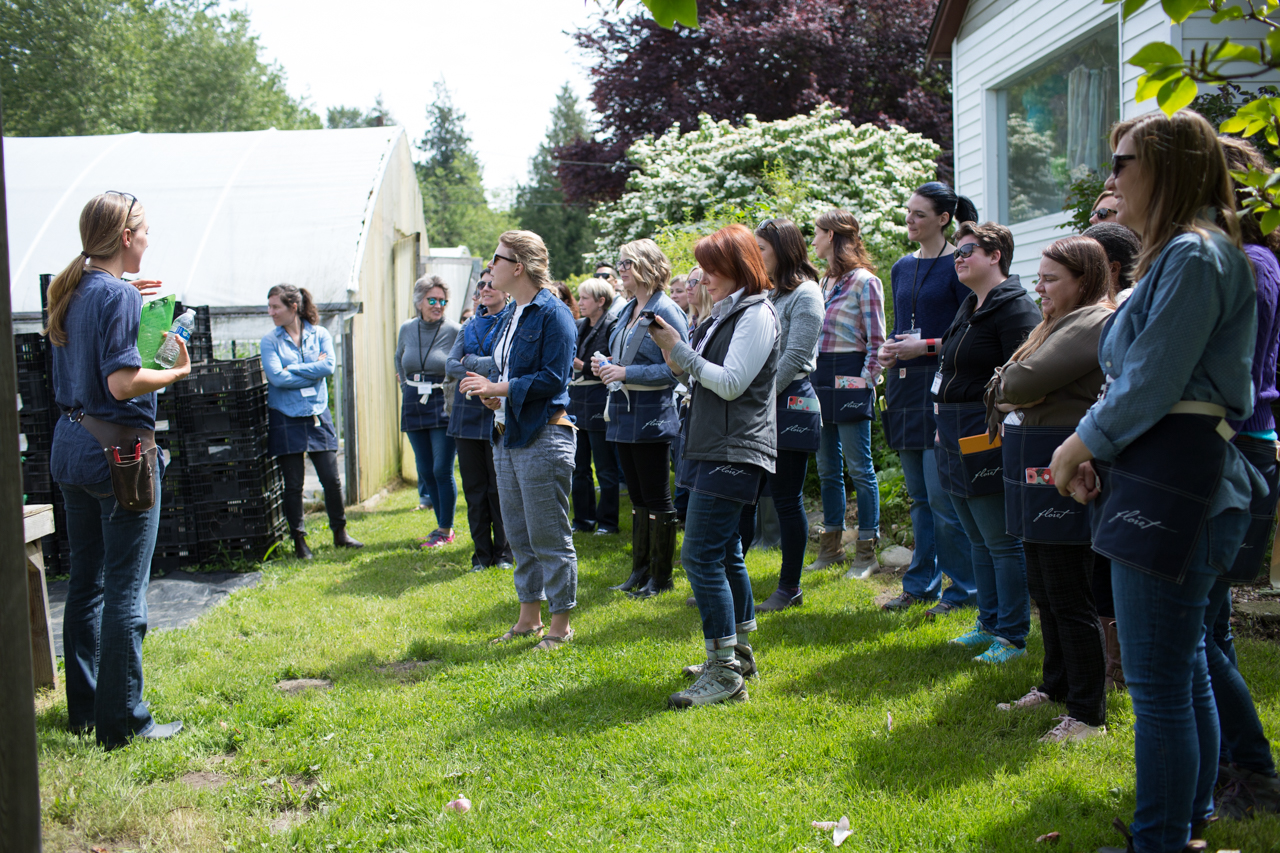
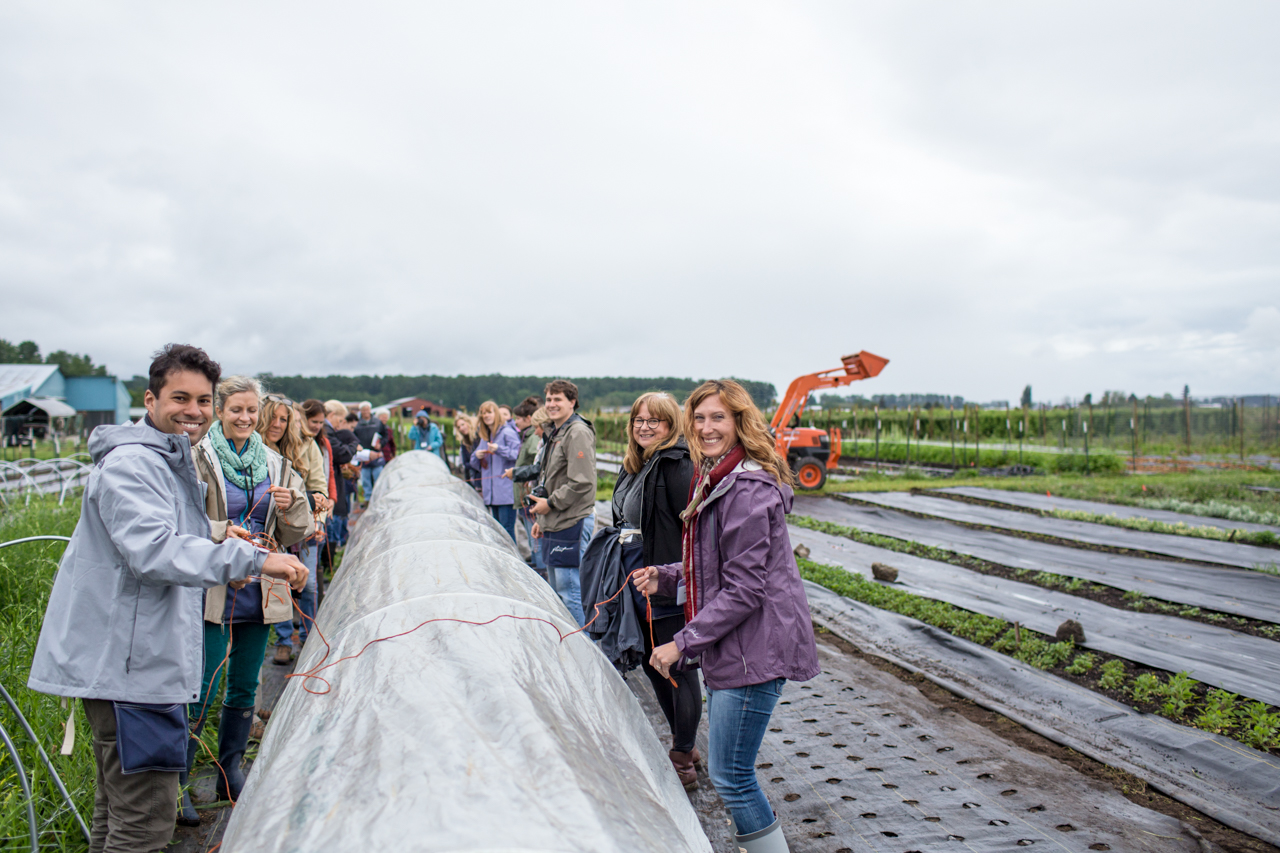
The amazing farmer-florists that once assisted at our in-person workshops now help moderate the Floret Learning Community, an online forum for students in the course.
Our workshop “den moms” lend their wisdom and climate-specific advice to students all over the world.
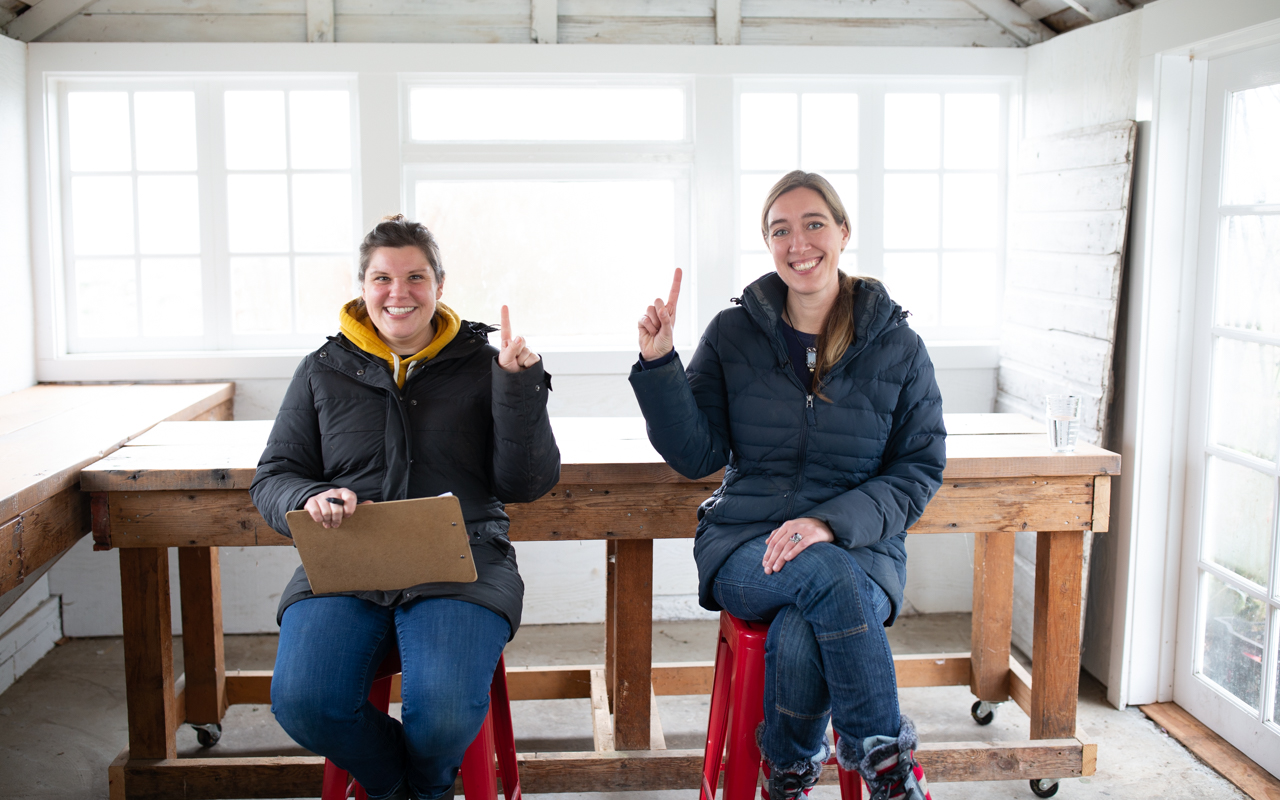
At the end of the course each year we send out a survey and gather student feedback about the workshop that we then take into our annual audit so that the program continues to improve over time.
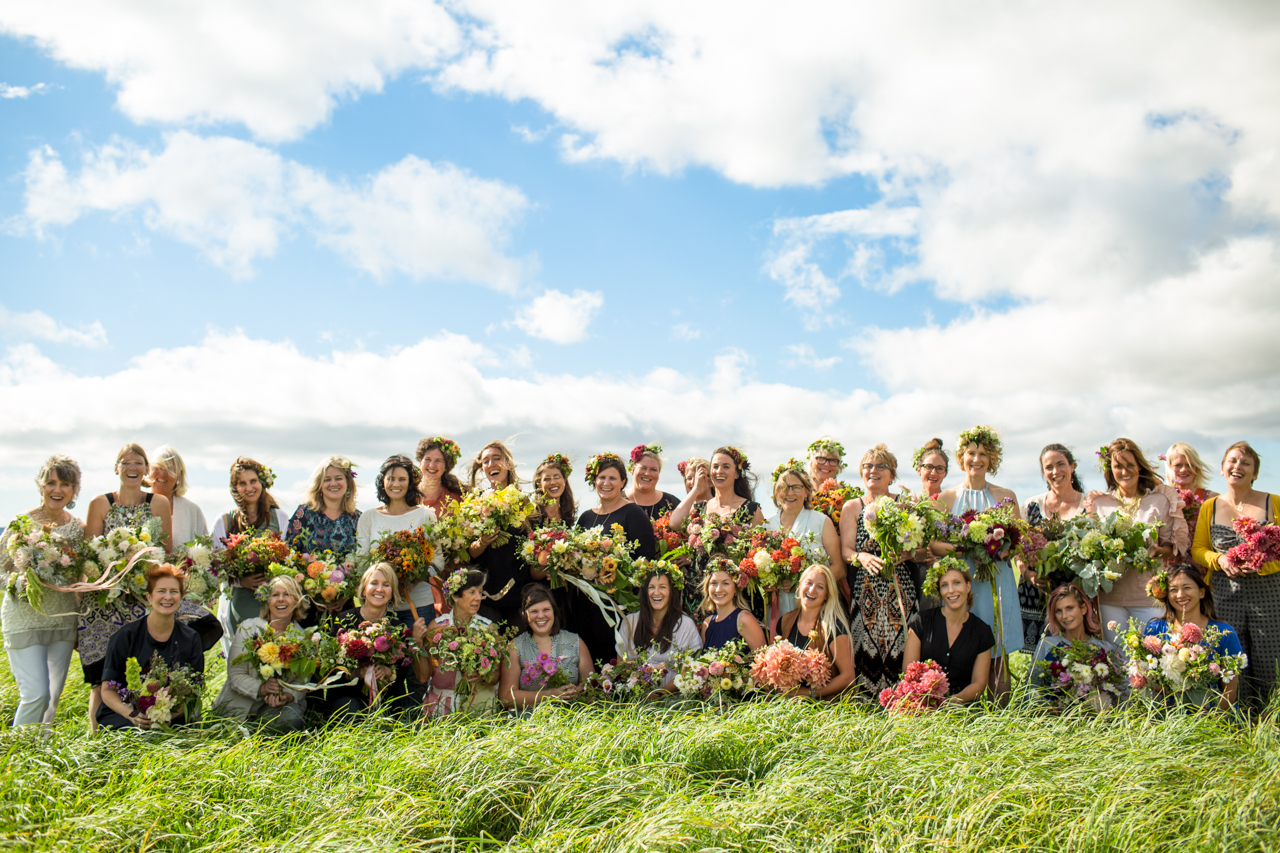
In the 11 years that we’ve been teaching the Floret workshop, both on-farm and online, we’ve welcomed students ranging in age from 16 to 76 from more than 50 different countries around the world.
We’ve also taught all types of organizations, including community gardens, schools, universities, prisons, veteran rehabilitation programs, and programs serving people with a wide range of abilities.
If you’d like to learn more about our next Floret Online Workshop, you can join the waitlist below.
Please note: If your comment doesn’t show up right away, sit tight; we have a spam filter that requires us to approve comments before they are published.

Donna on
Flowers make my heart soar! I believe there is a real, universal response to the natural beauty of flowers. That is a joyful experience to share.